Calendar widget
In this article
The Calendar widget shows the events you can see in Calendar, directly on your Dashboard. The widget is on every user's Dashboard by default. Use the widget to check what is coming up and to add or view events without opening Calendar.
Add or remove the Calendar widget
Adding or removing the widget changes only your own Dashboard.
To add or remove the widget
- Go to the Dashboard.
- Next to the Dashboard title, select More actions (...).

- Select Manage Widget.
- In the Manage widget window, scroll down to Calendar. Switch Calendar on to add the widget, or off to remove the widget.
- Select Save.
The widget now appears on your Dashboard.
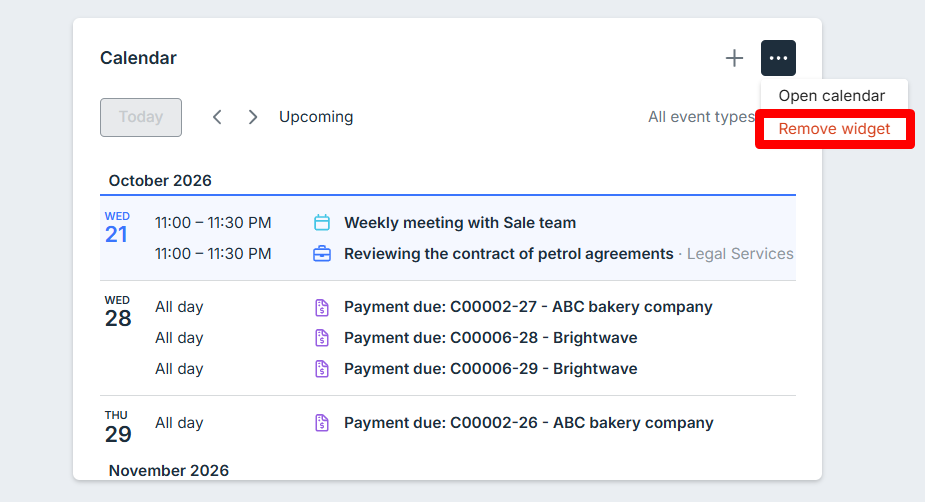
You can also select ... at the top right of the widget, then select Remove widget. Removing the widget this way has the same effect as switching Calendar off in the Manage widget window.
To move or resize it, see Manage Your Widgets.
View events in the widget
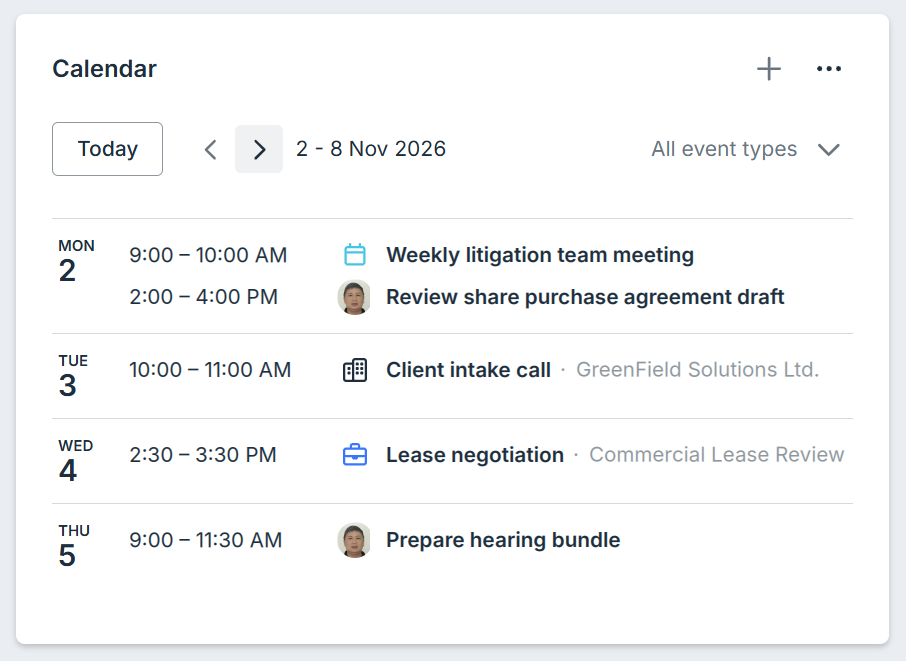
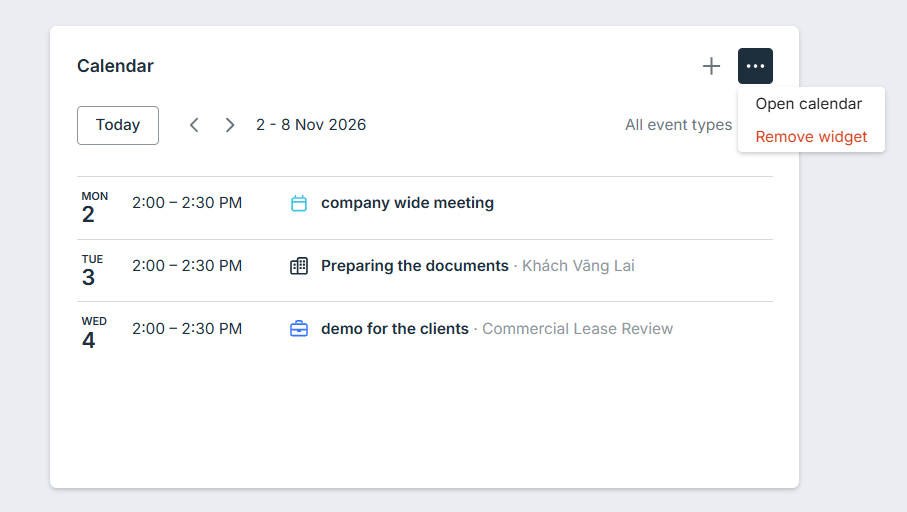
Events are grouped by day. For each event, the widget shows the time, an icon, and the event title. If an event lasts the whole day, the widget shows All day instead of a time.
The icon shows the event type. The same icons appear in the event type filter (see Filter events by type below).
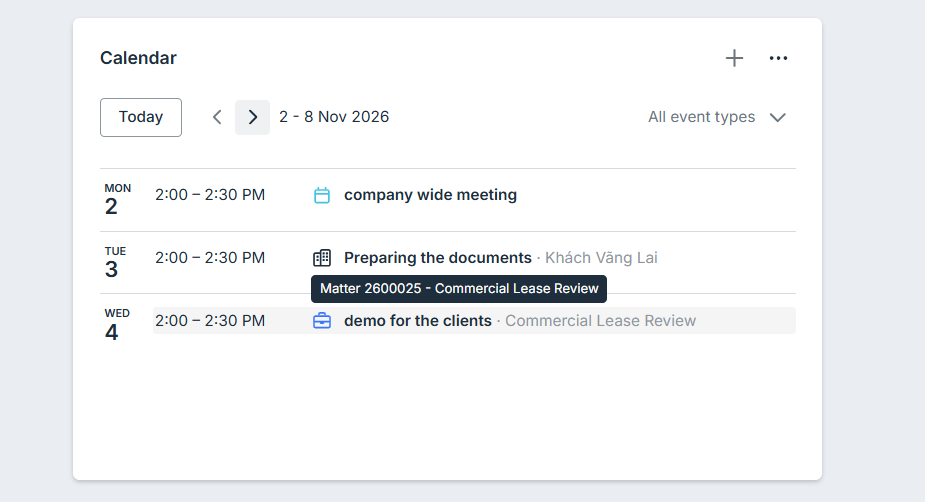
Some events are linked to a client, matter, intake, or billing statement. To see what an event is linked to, hover over the event. A tooltip shows the code and name, for example Matter 2600025 – Commercial Lease Review.
If you have no events today, the widget shows Nothing scheduled today next to today's date.
Microsoft Outlook events that you link to bilabl with the Outlook add-in also appear in the widget, see Calendar integration with Microsoft Outlook.
To go to the Calendar page, select … at the top right of the widget, then select Open calendar.
Browse upcoming events or a specific week
By default, the widget shows Upcoming: events from today onwards, with today highlighted.
To see one week at a time, use the arrows next to Today:
- < shows the current week, then earlier weeks.
- > shows next week, then later weeks.
The date range of the week you are viewing appears next to the arrows. For example, if today is 21 Oct 2026, selecting < from Upcoming shows 19 - 25 Oct 2026, and > shows 26 Oct - 1 Nov 2026.
To go back to Upcoming, select Today.
Filter events by type
The Calendar widget shows all event types by default. You can hide the event types you don't need. For example, you can show only events linked to a matter and events from My calendar.
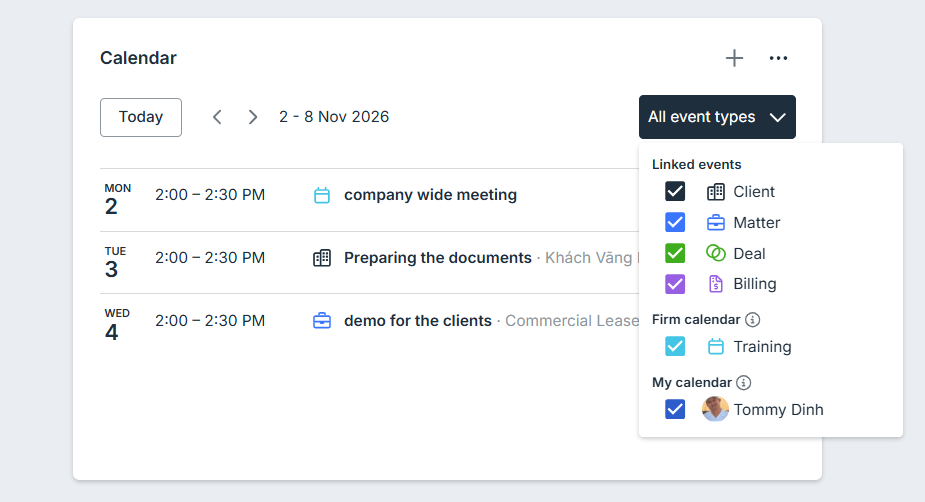
The event type filter, labeled All event types, is at the top right of the widget. It sorts event types into three groups:
- Linked events: a check box each for Client, Matter, Intake, and Billing.
- Firm calendar: a check box for each of your firm's calendars, listed by name.
- My calendar: a check box for your own calendar, shown with your name.
For what each event type includes and who can see those events, see Calendar in bilabl.
To filter events:
- Select the event type filter.
- Select the check box for each type you want to show, and clear the check box for each type you want to hide. The widget updates as soon as you select or clear a check box.
Add an event
When you add an event from the Calendar widget, you use the same form as in Calendar. The date is already filled in, based on the view you are in:
- In the Upcoming view or the current week, the date is today.
- In any other week, the date is the first day of the week you are viewing. For example, in the week of 26 Oct - 1 Nov 2026, the date is 26 Oct 2026.
To add an event:
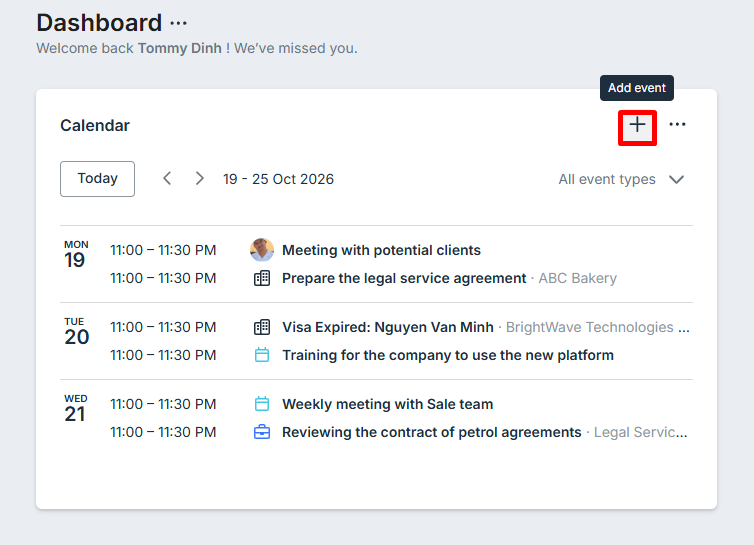
- Select Add event (+) at the top right of the widget. If you have no events today, you can also select Add event next to today's date.
- Fill in the event details. For what each field means, see Events in bilabl.
- If you have connected Microsoft Teams, see Calendar integration with Microsoft Teams, you can select Make this a Microsoft Teams meeting to make the event a Teams meeting.
- Select Save.
Open an event's details
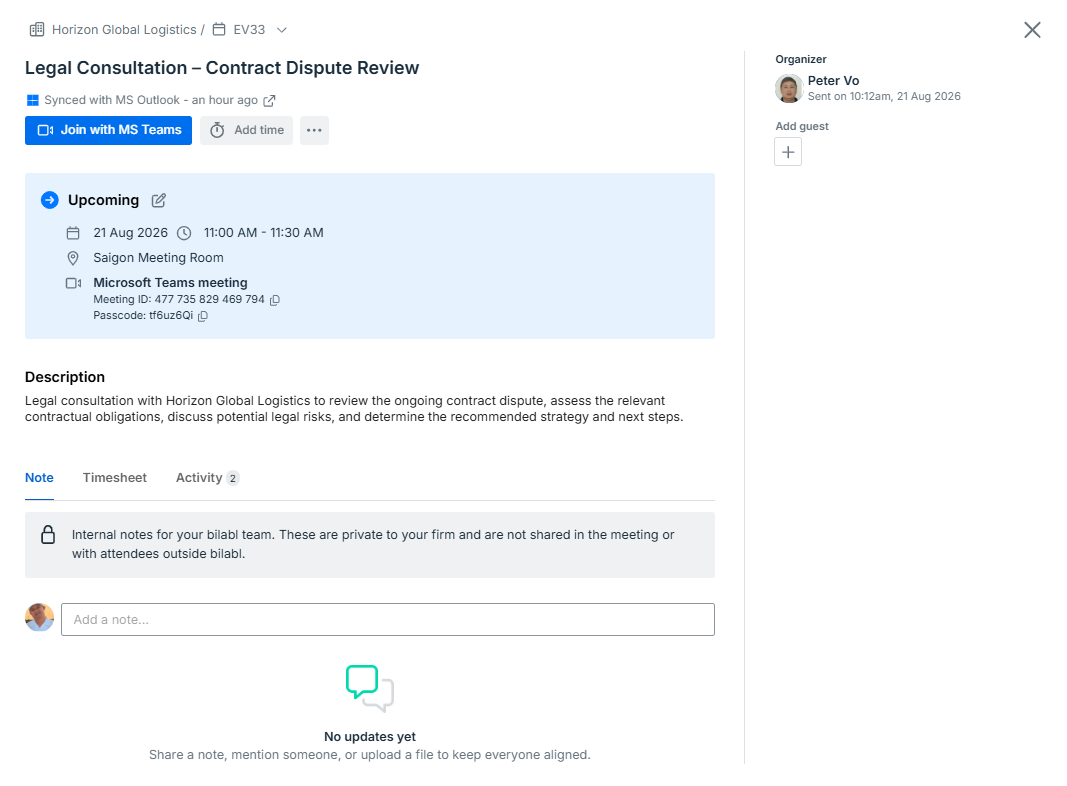
Select an event to open its details window. In this window, you can select Add time or Add guest, or add a note in the Note tab. For how each works, see Events in bilabl.